VM into your demo environment. Open Notepad with “Run as administrator”, otherwise you will not
be able to save the file.
In Notepad, open the following file: J:\AosService\WebRoot\web.config
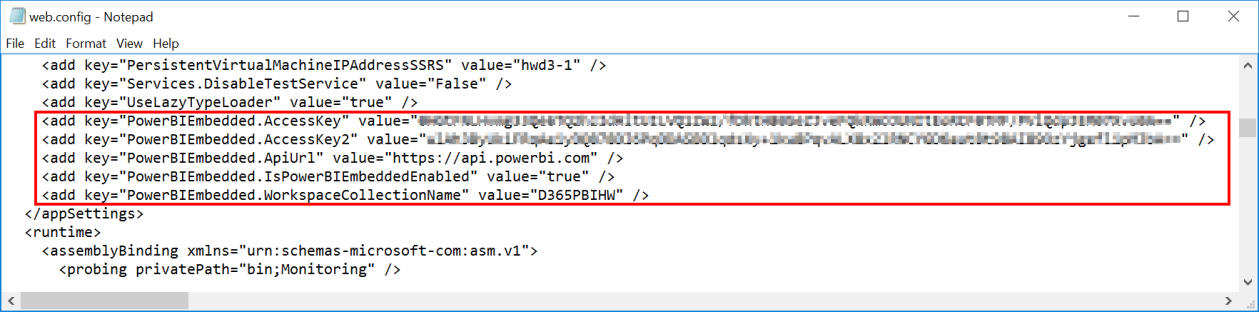
Make sure you enter the correct values in the yellow highlighted text. It should be the values that
you have entered/copied in step 1 (Server name = your SQL Azure Server Name) and Step 3 (the 2
access keys for your Power BI Workspace collection and the name of your Power BI Workspace
collection).

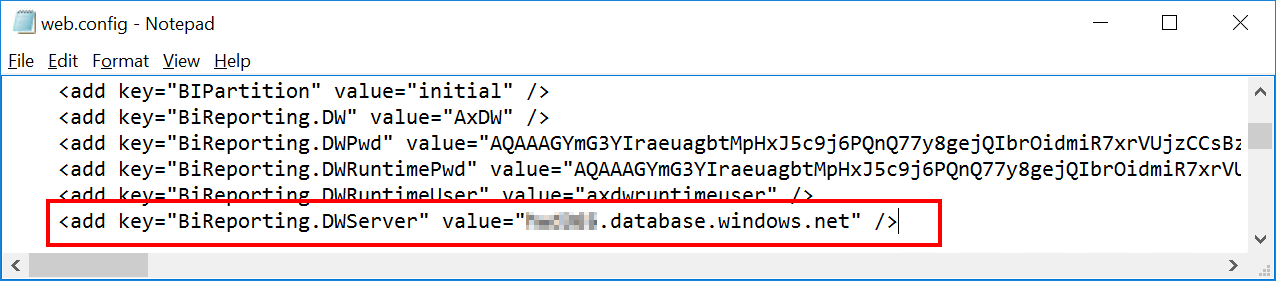
After the modifications, your web.config file should look something like this:
DWServer section:
After you have saved the web.config file, Restart your IIS server on the VM. After restart, make sure
you still can open the D365 client. If not, you messed up something in the web.config file. But the
error message shown will point you to the line you have to change.
Restart the Batch Service (Microsoft Dynamics 365 Unified Operations: Batch Management Service)
in the Services console.
Now to check CFO work space


Leave a comment